Editing product photos is an essential skill for any eCommerce business, whether you’re selling on Amazon, Shopify, or your own website. Well-edited photos can enhance the appeal of your products, improve customer trust, and increase conversions.
But how to edit product photos to make them look professional and polished? This comprehensive product photo editing guide will walk you through the best techniques and tools to perfect your product images.
The Importance of Product Photo Editing for eCommerce Success
In the competitive world of online selling, the quality of your product photos can make or break a sale. High-quality images create a positive impression of your brand, encourage customer confidence, and ultimately drive higher sales. On platforms like Amazon and Shopify, where first impressions matter the most, good photo editing can be the difference between getting noticed and being overlooked.
Professional photo editing helps eliminate distractions, remove imperfections, and make your products stand out. By following a few simple steps, you can ensure your product images not only look professional but also align with best practices for eCommerce.
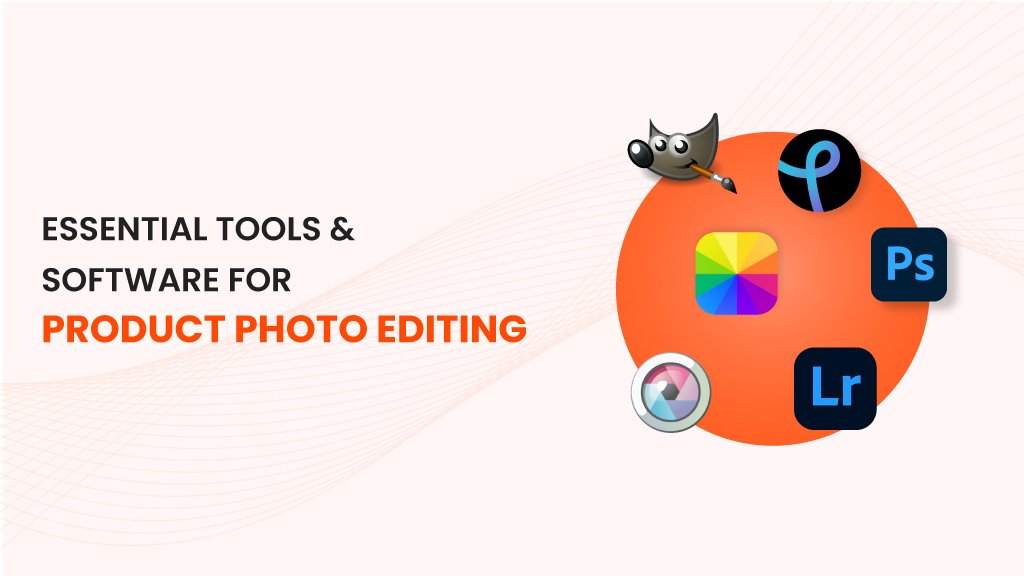
Essential Tools & Software for Product Photo Editing

Before diving into the step-by-step process, let’s first explore the tools you’ll need. Choosing the right photo editing software is crucial in achieving high-quality results. Below are some of the best software options available for editing product images:
- Adobe Photoshop: The gold standard for professional product photo editing. Ideal for advanced users looking for complete control over every detail.
- Lightroom: Excellent for adjusting brightness, contrast, and exposure, making it a great choice for batch editing product photos.
- Canva: A user-friendly option for beginners, especially if you’re looking for quick edits and templates.
- GIMP: A free alternative to Photoshop, offering many similar features.
- Pixlr and Fotor: Online editors that are great for simple edits without the need for installation.
Whether you choose free or paid software, make sure it has the tools necessary for the task at hand—brightness adjustment, background removal, color correction, and other editing features.
Step-by-Step Guide to Editing Product Photos
Now that you understand the importance of editing, here’s a step-by-step guide to how to edit product photos for your online store. Following these techniques will ensure your product images stand out and capture the attention of potential customers.
Step 1: Adjust Brightness, Contrast & Exposure
Before you start removing backgrounds or retouching, it’s important to adjust the basic settings like brightness, contrast, and exposure. These adjustments will help make your product photos pop and appear more vibrant. Start by correcting the overall lighting of the image.
- Brightness: If the image is too dark or too bright, adjust the brightness until the product is clearly visible.
- Contrast: Increase the contrast slightly to make your product stand out from the background.
- Exposure: Adjust the exposure to make sure the product’s colors are accurate.
Making these adjustments can help make your photos look cleaner and more polished.
Step 2: Remove or Replace Backgrounds
One of the most important aspects of product photo editing is removing the background to make the product stand out. Whether you’re shooting in a cluttered environment or you want a cleaner, more professional look, background removal is essential.
- Use tools like Photoshop or Canva to easily remove the background or replace it with a solid color or a soft gradient.
- For eCommerce platforms like Amazon and Shopify, a plain white background is often required to keep the focus on the product.
Removing the background helps create a consistent look across your product line and gives the photos a clean, professional appearance.
Step 3: Crop & Resize for Different Platforms
Next, it’s time to crop and resize your photos. The dimensions for product images will vary depending on the platform you’re using. For example, Amazon and Shopify have specific image size requirements.
- For Shopify, the recommended size is 2048 x 2048 pixels.
- For Amazon, product images must be at least 1000 pixels in height or width.
Cropping is also important for ensuring the product fits well within the frame and looks well-composed. Avoid leaving too much empty space around the product, as this can make the image look unprofessional.
Step 4: Apply Color Correction & White Balance
To ensure your product looks true to life, color correction and white balance adjustments are essential. These edits help remove any color tints caused by lighting and ensure the product’s colors appear accurate.
- White Balance: Adjust this to remove any warm or cool color casts in your photos, ensuring the whites in the image appear neutral.
- Color Correction: Fine-tune the colors of your product to match its real-life appearance as closely as possible.
This is particularly important for eCommerce photos, where customers rely heavily on images to make purchasing decisions. Accurate color representation is key to maintaining trust.
Step 5: Retouch Imperfections & Enhance Details
Once the basics are sorted, it’s time to focus on finer details. You can retouch any imperfections in your product photos, such as dust, scratches, or blemishes. Photoshop and Lightroom offer tools like the Spot Healing Brush to easily remove imperfections.
Additionally, you may want to enhance the finer details of the product, such as logos, textures, and fine lines. This will make your product look more polished and appealing to potential buyers.
Step 6: Export Settings for Web & Print Use
Finally, it’s important to export your edited photos in the correct format for both web and print use. For online use, JPEG is a common choice, as it strikes a balance between file size and image quality. Ensure the resolution is high enough for clear display but optimized for fast loading times on your website.
- For web export, use a resolution of 72 DPI (dots per inch).
- For print export, choose 300 DPI for the best quality.
Ensure that the file size is optimized for quick loading without sacrificing image quality. Slow-loading images can hurt the user experience and affect your SEO rankings.
Advanced Editing Techniques for Product Photography
Once you’re comfortable with the basics, you can move on to more advanced editing techniques to really elevate your product images:
Creating Shadows
Adding realistic shadows can make your product appear more three-dimensional and tangible. There are several types of shadows you can add:
- Natural Shadow: Create shadows that mimic the light source to make the image look more lifelike.
- Drop Shadow: Adds a slight shadow behind the product to create separation from the background.
- Reflection Shadow: Use reflection effects to add depth and interest to your product shots.
These shadows can be created in Photoshop using layers, or you can apply them in Lightroom.
Batch Editing
If you have a large inventory, batch editing can save you a lot of time. With tools like Lightroom, you can apply the same adjustments to multiple images at once, ensuring consistency across your product catalog.
Branding
Adding branding elements such as logos or watermarks to your product images can help ensure consistency and prevent image theft. Always make sure your branding doesn’t overpower the product itself; it should subtly enhance the image without distracting from the product.
Common Mistakes in Product Photo Editing & How to Avoid Them
Even experienced photo editors can make mistakes. Here are a few common mistakes to watch out for:
Over-editing
It’s easy to get carried away with editing, but over-editing can make your photos look unnatural. Aim for a clean, realistic appearance that reflects your product accurately. Avoid excessive saturation, sharpness, or contrast adjustments.
Inconsistent Lighting
Ensure that all your product images have consistent lighting and shadows. This helps create a cohesive look across your website, giving your brand a polished, professional feel.
Incorrect File Settings
Exporting your images in the wrong format or resolution can affect both the appearance and performance of your website. Always double-check your file settings before uploading images.
Conclusion: Achieving Professional Product Photos
Editing product photos is crucial for making your products look their best and boosting your eCommerce sales. By following this product photo editing guide, you can ensure your images are high-quality, professional, and aligned with industry best practices. Whether you’re editing for Amazon, Shopify, or your own website, these steps will help you present your products in the best light possible.
Ready to take your product photos to the next level? Explore our recommended tools and get started on how to edit product photos today!
If you’re looking to streamline your product photo editing process, try out the best photo editing software or explore professional services to make your product images shine!


